A blog originally for keeping track of my hobby of being a Beekeeper which has evolved to include Home Brewing and even more recently to follow me and my families approach to "The Good Life". Eventually I hope to include baking recipes and stories of our flock of chickens also reporting on the success and failure at the allotments.

Showing posts with label fermentation. Show all posts

Monday, 5 May 2014

Cider!

Last year I aquired a huge batch of apples and made cider. Below are the photos I took of the process


This is the original batch of apples collected while walking on common 


apples a bit of a clean in cold water

Me grating up 25kg of apples in a food processor, a sticky job!


The grated apple put into the press and starting to squeeze out the juice


Pulp

Juice!

All setup

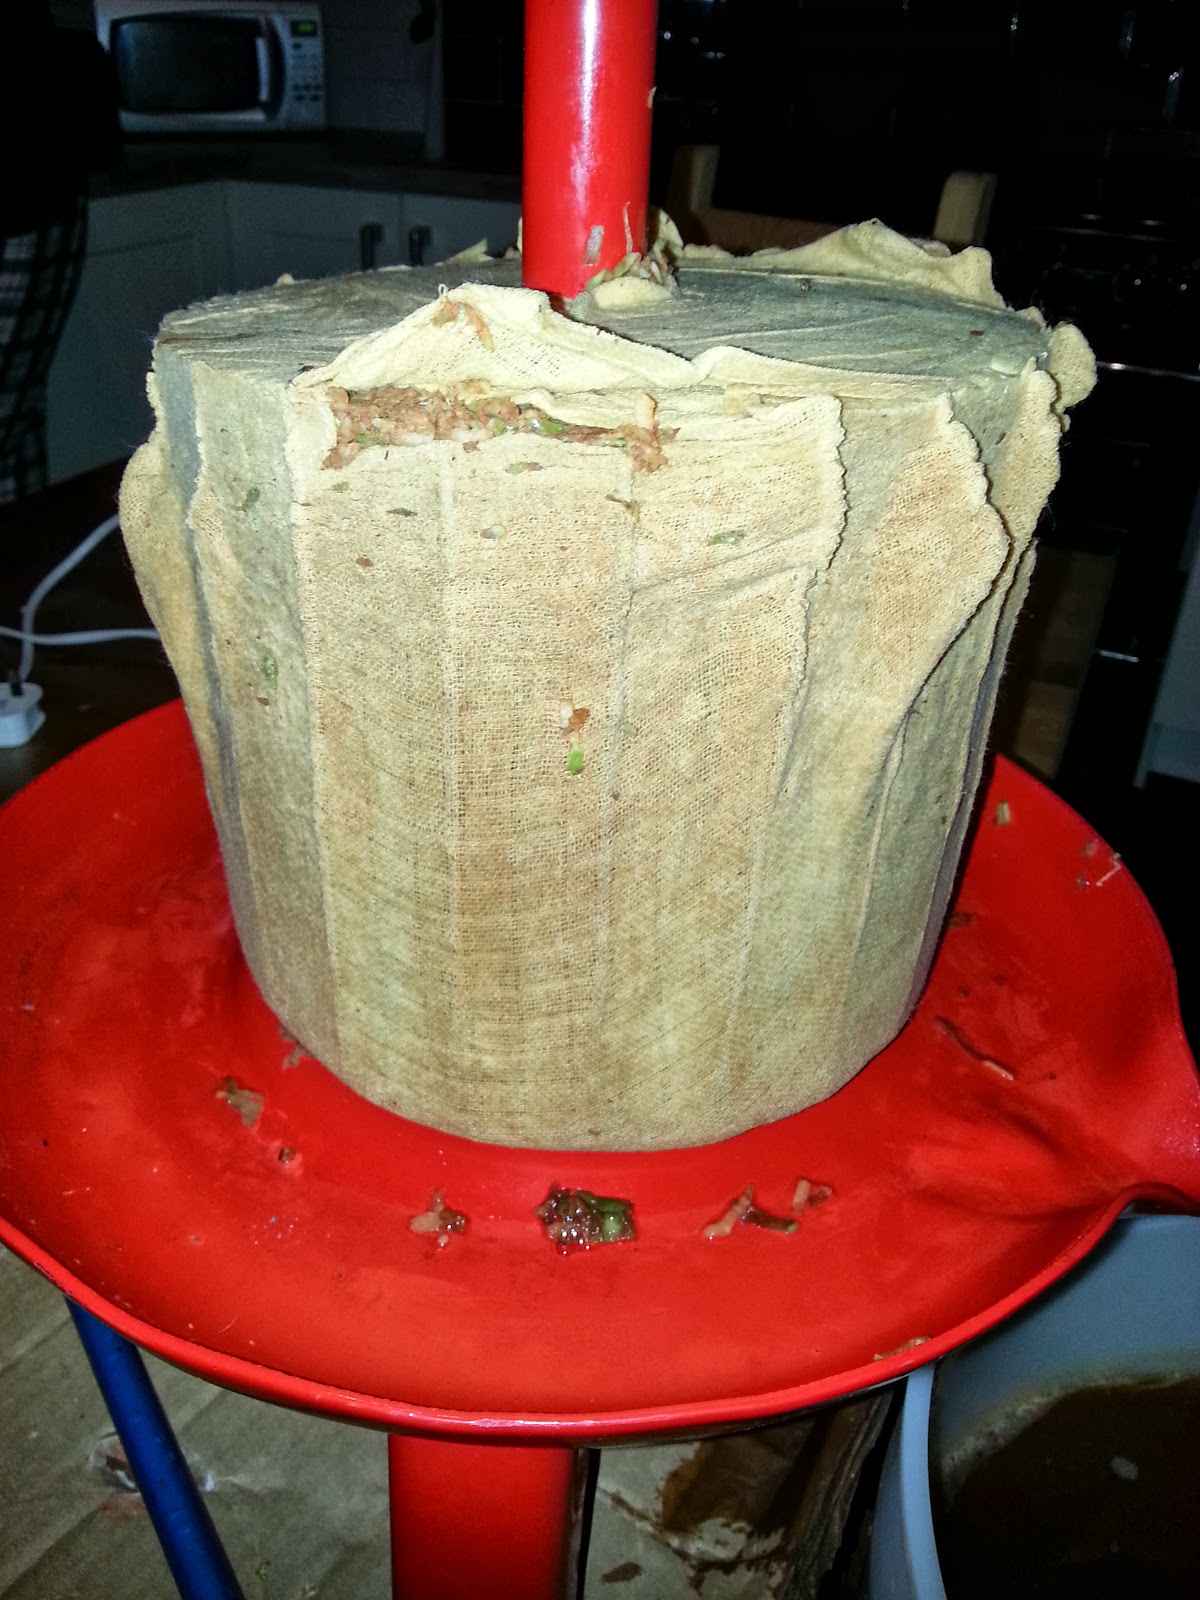
The first dry apple cake. These were returned to my friend to feed to his pigs

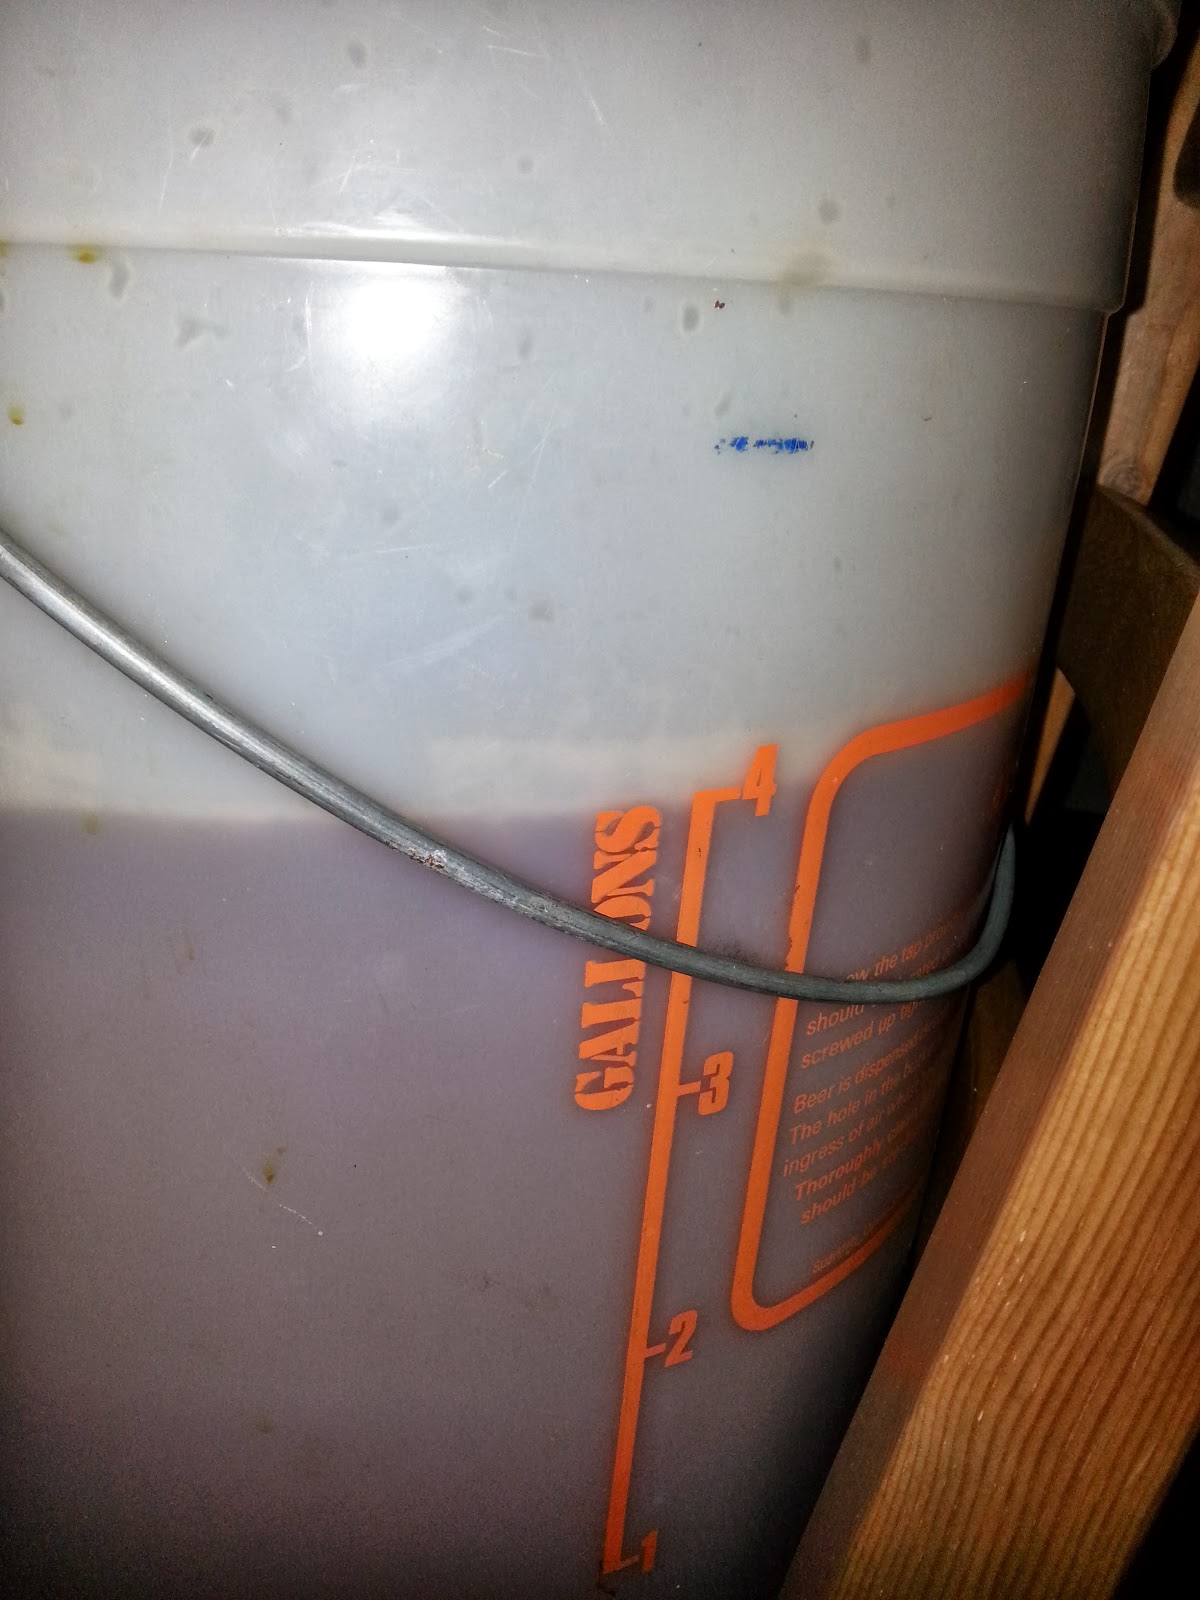
4 Gallons of juice

The dried cake after pressing

More pig food

No yeast, water or sugar added, just let the natural yeast do their thing!

Monitoring the gravity to see when ready

Fermenting nicely!

After it had fermented away it was all bottled and is now in storage while it ages. I have drank a few bottles of it and although Steph isn't a fan I am quite enjoying it. Credit to Steph though as she did help me a lot with the process.

Sunday, 17 June 2012

Ginger Ale!

Over the last few weeks me and my good wife, Steph, have been enjoying fresh, ice cold, tangy ginger ale and I am now going to share how easy and quick it is to make.

First off a list of ingredients. This is for making a 2 litre batch but can be scaled up or down if you want, the most important thing is to use plastic bottles to make your ale, I'll explain why later.

An empty 2 litre PLASTIC pop bottle
1 Lemon
Approx 1 inch of ginger (more if you like it strong)
2 Cups of sugar (or 400g)
1 Packet of bread yeast

If you are making bigger batches it's easy, just use 1 cup of sugar per litre, or 200 grams if you don't have cup measures. If only increasing to 3 or 4 litres then I don't think you need any more yeast but you will need to use more ginger and lemon. That is why I zest my lemon as well as juicing it as I use 3 litre bottles but you can still zest it if only doing 2 litres, if you are making 4 litres then I would use 2 lemons. This is a good recipe but once made do feel free to experiment and alter the quantities to suit you, I like to add a lot more ginger to make it really strong, just be careful when opening and ALWAYS USE PLASTIC BOTTLES!

...and that's it. Now to the method, which again is really simple!


  1. The first thing to do is wash out an empty 2 litre plastic pop bottle . Once that has been cleaned and thoroughly rinsed out you can put all your dry ingredients in, which are the sugar and the yeast; if you have funnel this is easier.  
  2. Grate the ginger into a measuring jug or bowl using the finest grater that you have, I don't think it makes too much difference if you just have the regular large grater used for cheese! I used the grater to also grate some zest from the lemon in as well but this is optional. If you have lots of ginger stuck to the grater then you can rinse it gently under the tap collecting the liquid that runs off in your jug or bowl.
  3. Juice the lemon and add the juice (but no seeds!) to the bowl of grated ginger, this should now be a gingery lemony slurry! This is now added to the pop bottle. Again a funnel comes in handy but if you have used a lot of ginger it tends to clog up the funnel so a skewer or something similar is useful for helping it through!
  4. Top up the bottle with cold water leaving about 2-3 inch at the top. Put the lid on securely and shake vigorously until all the sugar has dissolved. 
  5. Leave the bottle in a warm place for 24-48 hours. Depending on how warm it is will affect this time. What is happening at this stage is the yeast is starting to convert the sugars to alcohol with the by product being carbon dioxide, or CO2. With there being no where for the CO2 to go it is absorbed back into the liquid causing it to be fizzy when opened! 
  6. After 24 hours check the bottle by squeezing it, if it is really tight and you can hardly press the plastic in then it is ready for the fridge, if not leave it another day and it should be ready. This is why we use plastic bottles, if glass bottles where used there would be a risk of shattering if the pressure gets too high. With plastic it will stretch a bit and if it does over pressurise then it is no where near as dangerous!!!!!!!!!!!
  7. Leave it in the fridge for up to 24 hours to make sure it is really cold. While it is in the fridge the fermentation will slow down but not totally stop. When it has been in the fridge long enough to make it cold it is ready to serve. Be very careful opening it and if possible open it outside or over the sink as it can be very lively! I found out the hard way with a batch that was a little over lively; It's lid flew off when I had loosened it slightly and then a second later the bottle erupted like a bottle of champagne! Don't be put off by this though, just be warned! 
  8. To serve you can pour it straight from the bottle but I prefer to pour it through a tea strainer as this collects all the grated ginger. For a extra special treat fill a glass with ice, a shot (or 2) or rum, squeeze half a lime in and top up with fresh ginger ale, delicious! 
Before showing a few photos of the process I will add a little note on the alcohol content of this brew. Although There will be alcohol in there due the fermentation of sugar with yeast it will be of very low levels, probably less than 1%, though I would guess even lower. I haven't tested it but due to the short length of time it is left to ferment then there is not enough time for it to get too alcoholic. If in any doubt at all by all means either test it or enjoy on non driving days!


Ginger Ale
A nobbly chunk of ginger!

Ginger Ale
A zested lemon!

Ginger Ale
Juicing the lemon

Ginger Ale
Lemon juice

Ginger Ale
A cup of sugar

Ginger Ale
Pouring the sugar in

Ginger Ale
Yeast

Ginger Ale
The recipe says 1 packet of bakers yeast but as I had a tin of it I just used a cap full and it worked fine

Ginger Ale
Rinsing the juice from the grater

Ginger Ale
A nice out of focus shot of the lemon and ginger slurry going in

Ginger Ale
"We have a blockage, bring me a skewer!"

Ginger Ale
After 2 days the pressure test, this is me pressing hard but getting nowhere!

Ginger Ale
Poured through a tea strainer or sieve

Ginger Ale
All them bits from such a small glass of ginger ale!

Ginger Ale
Mmmmmmm, bubbly!

Monday, 23 April 2012

Coopers Mexican Cerveza Lager Kit

Yesterday I started a new 40 pint batch of lager. This one is by Coopers and it is their Mexican Cerveza. I have heard good things about this lager so I'm hoping it will turn out good. One difference I've made is to use golden syrup instead of sugar as, again, I've been told this makes a nicer end product. I also used 200g of sugar as the golden syrup doesn't quite have enough sugar contents to complete the fermentation. When I checked on it this morning I could see that fermentation has started. I do intend on using a slightly different method to prime the lager when bottling but I will mention that when I bottle the lager in just over a week!

Coopers Mexican Cerveza
The beer kit - Enough for 40 pints!

Mexican Lager Kit and Large Tin of Golden Syrup
The home brew kit and the golden syrup.

Sugar Weighed Out For Homebrew
200g of sugar weighed out

Friday, 11 November 2011

Raspberry Wine From Frozen Fruit

I have started a new batch of raspberry wine, mainly to free up some space in the freezer but also because I like wine!  This will probably taste different to my first batch of raspberry wine (which can be found at this link) for a couple of reasons; the first reason is I didn't use the same technique to make the wine and secondly (and more importantly) the alcohol content will probably be much higher, I'll explain why later.

The method I used for this batch was as follows....

Firstly I defrosted a large bag of berries; they had frozen into a large block and when defrosted a lot of juice had already been released. I didn't weigh the berries but have an idea in my head of how large the bag was, slightly smaller than a bowling ball!


The next step I did was to pour a kettle of boiling water over the berries, approx 1.7 litres, to encourage more juice to be released. Then I poured the mix through a sieve in an attempt to catch any seeds and reduce the amount of pulp going through. With the pulp that was left over I poured the same amount of boiling water again and repeated the last step. Satisfied that I had got a good amount of juice from the berries I discarded the remaining pulp, it had lost most if it's colour anyway.


The pulp still full of juice.

Below is a video of me shaking the juice out!


When the mix had cooled enough I added a teaspoon of pectolase to further help break the fruit down and covered the bowl to leave it overnight. The next day I added the sugar, this is another area that I differed from the previous raspberry wine; instead of measuring the amount of sugar that went in I just measured the gravity and stopped adding sugar when I was happy. It was roughly 1.75kg of sugar but the main point is that the SG was 1.111 which will give a much higher alcohol level if all this is converted. For example, if the final gravity is .99  then alcohol level would be over 16% which I'm more than happy with!

When all the sugar was dissolved I moved the mix into a clean sterilized demijohn, again passing it through a sieve to collect any pulp. Once it was in the demijohn I added a teaspoon of yeast before putting an airlock on. The demijohn was then put to one side in the kitchen with plenty of kitchen roll underneath, just in case it overflowed like my plum wine did!

While I was waiting for this wine to start working I racked the plum wine. It seemed to have stopped bubbling and has been fermenting for about 3 months. There was a think layer of sediment in the bottom of this demijohn, partly from the fermentation and partly because I left a lot of pulp in the juice. This seems to have formed into small balls and sunk to the bottom. Now it is in a fresh demijohn and its clearing nicely. I had a small taste of the wine and am impressed with the flavour so far. Give it some time to mature and it'll hopefully taste great!

The debris in the bottom of  the plum wine.

Once a couple of days had passed the raspberry wine was bubbling away very happily. It has got an amount of pulp that has formed into balls, similar to the plum wine and due to the strong fermentation these are all floating at the top. Luckily there isn't as much as was with the plum wine so haven't had a eruption like before.

The raspberry wine at the front and plum behind

Thursday, 25 August 2011

Plum Wine

On the 19/08/11 I started a batch of plum wine. In the background of the first photo there is a few jars of plum jam we also made. By the fact we made over 20 jars of jam and still had enough left to make wine you can get an idea of the amount of plums we collected. We have been back since and it doesn't even look like we've taken any. If this wine is nice then next year I will make a much bigger batch.


The recipe I used for the wine can be found here in full but I will go through what I did. I started off by removing the stones from the plums to make up 6lb of fruit. I then poured over 2 pints of boiling water and crushed the fruit a bit to start releasing the plum juice. Next I added a teaspoon of pectolase when the juice was cool; this helps break the fruit down. I then covered the mixture and left it overnight. The next day I dissolved 3lbs of sugar in 2 pints of boiling water and added that to the fruit mix, which was then left 48 hours. The next step was to add the yeast and put it all into a demijohn. Before putting the juice into the demijohn I strained the mix through a sieve. If I do this recipe again I will use something much finer to strain the liquid from the fruit; this is because a lot of the pulp must have also gone into the demijohn as when I woke up the following morning there was a lot of pulp that had been pushed up by the fermentation over night, the airlock was full and some of the mush was over the kitchen table. I managed to clear this up and there wasn't too much of the mix lost. I did take a gravity reading using my hydrometer so will be able to work out the alcohol level at the end. The reading was 1.08 which will give a final alcohol level between 10 and 15 %, I will now leave the wine a few weeks then rack into another demijohn.

The wine in the demijohn, the pulp at the top is the same as what overflowed after the first night


Monday, 22 August 2011

Racking

Due to recent death of my mother this is my first post in a couple of weeks so my blog has fallen behind a little. She was an exceptional mother and grandmother who always encouraged me to do the things I'm passionate about so would have wanted me to carry on with my blog. I have several things I would like to post about and the first is the racking of my mead and wine.

I had several days at racking as I have a lot of mead on the go at the moment. The 30 litre batch that I started at the beginning of the year was split into 4 demijohns a few months ago so that took a couple of days to rack. This batch is just a straight mead with no other flavourings apart from 1 of the demijohns which I added extra honey to sweeten. Though I didn't have a hydrometer to begin with I have since roughly worked out the starting gravity or S.G. to be 1.060 and the current gravity is 0.97 which would give a ABV OF 12%. This batch is also clearing nicely and will be bottled next month and then set aside to age, hopefully this will make it taste nicer!

The dandelion wine, which is in a 3 litre pop bottle, was also racked and that has a nicer smell than it had before! The colour is still similar to red wine, due to the red grape juice added, but it appears a little clearer. No gravity readings have been taken at any point on this wine so will be a wild card when it is drunk.

The lemon and ginger mead I started in March was the next. This had a S.G. of 1.090 and is now about 15-16% ABV. I did mention in a earlier post that I would bottle this at 12% but as it's already gone over I will now leave for it to run it's course. I didn't taste this while racking so am unaware if it's got a nice taste yet but in time will find out.

Finally I bottled my second batch of JAO mead. This followed the same recipe as the first batch I did but am unsure what it tastes like yet as I haven't tried it yet. I didn't write a post about this when it was started and  haven't recorded the gravity at any point so again I am unable to tell how strong it is. Oh well, that just adds an extra layer of fun when drinking it!

The dandelion wine.

Racking from the earthenware "johns"
MEAD!!!!!!

Wednesday, 20 July 2011

Raspberry Wine

As there was a huge glut of raspberries again this year, along with jam, we decided to do a batch of raspberry wine. I did a quick Google search and came up with a recipe found at this link. I didn't fully follow the recipe but used it as a guide.

A small section of raspberries, there is about 30 metres of them!

8 kilograms of berries!

We started with a huge container of raspberries and started straining the juice out for use in seedless jam. First off we filled a muslin square with berries and once a knot was tied in the top we started squeezing the juice out. When we had 3 kilos of juice we put that to one side and used that to make the jam. What was left in the muslin was then squeezed out into a bucket along with 7 pints of water, a crushed campden tablet, a teaspoon of yeast nutrient, half teaspoon of pectic enzyme, half teaspoon of citric acid and about enough sugar to bring the mix's starting gravity to 1.092. I then left the mix over night and then squeezed the bag before adding a teaspoon of wine yeast. After 5 days the mix had reached a gravity of 1.020 so I squeezed as much juice out of the bag as I could and then racked it into a glass demijohn and added a airlock. I will now leave it a few months before racking again.

The mix in the fermenting bucket with the hydrometer to measure the gravity.

The wine in the glass demijohn.

Thursday, 5 May 2011

Dandelion Wine Fermenting

After leaving the dandelion brew for 4-5 days in a covered bowl it was time to put it in a demijohn for fermenting. I used a sieve to scoop off as much of the dandelion "debris" as possible and then poured the remaining liquid through the sieve a few times for good measure. 


I then poured the remaining liquid into a demijohn (in this case a 3 litre dilute pop bottle). Before the dilute pop bottle I used a larger glass demijohn but this was too large for the amount of liquid I had. At this point I was panicking slightly as I have used the same amount of sugar as I should have used for a larger batch, meaning there is a higher sugar content. This will mean a sweeter wine which is no problem! At this point I should have taken a S.G. reading so I could work out the alcohol level at the end but didn't have time so will play it blind.


The next day I had a look at the mix and am happy to report that it is bubbling away quite happily. Now I need to wait a couple of months before racking the wine, then maybe another rack followed by bottling the wine and finally leaving for upto a year to develop. I will update as I go!