A blog originally for keeping track of my hobby of being a Beekeeper which has evolved to include Home Brewing and even more recently to follow me and my families approach to "The Good Life". Eventually I hope to include baking recipes and stories of our flock of chickens also reporting on the success and failure at the allotments.

Showing posts with label alcohol. Show all posts

Monday, 5 May 2014

Cider!

Last year I aquired a huge batch of apples and made cider. Below are the photos I took of the process


This is the original batch of apples collected while walking on common 


apples a bit of a clean in cold water

Me grating up 25kg of apples in a food processor, a sticky job!


The grated apple put into the press and starting to squeeze out the juice


Pulp

Juice!

All setup

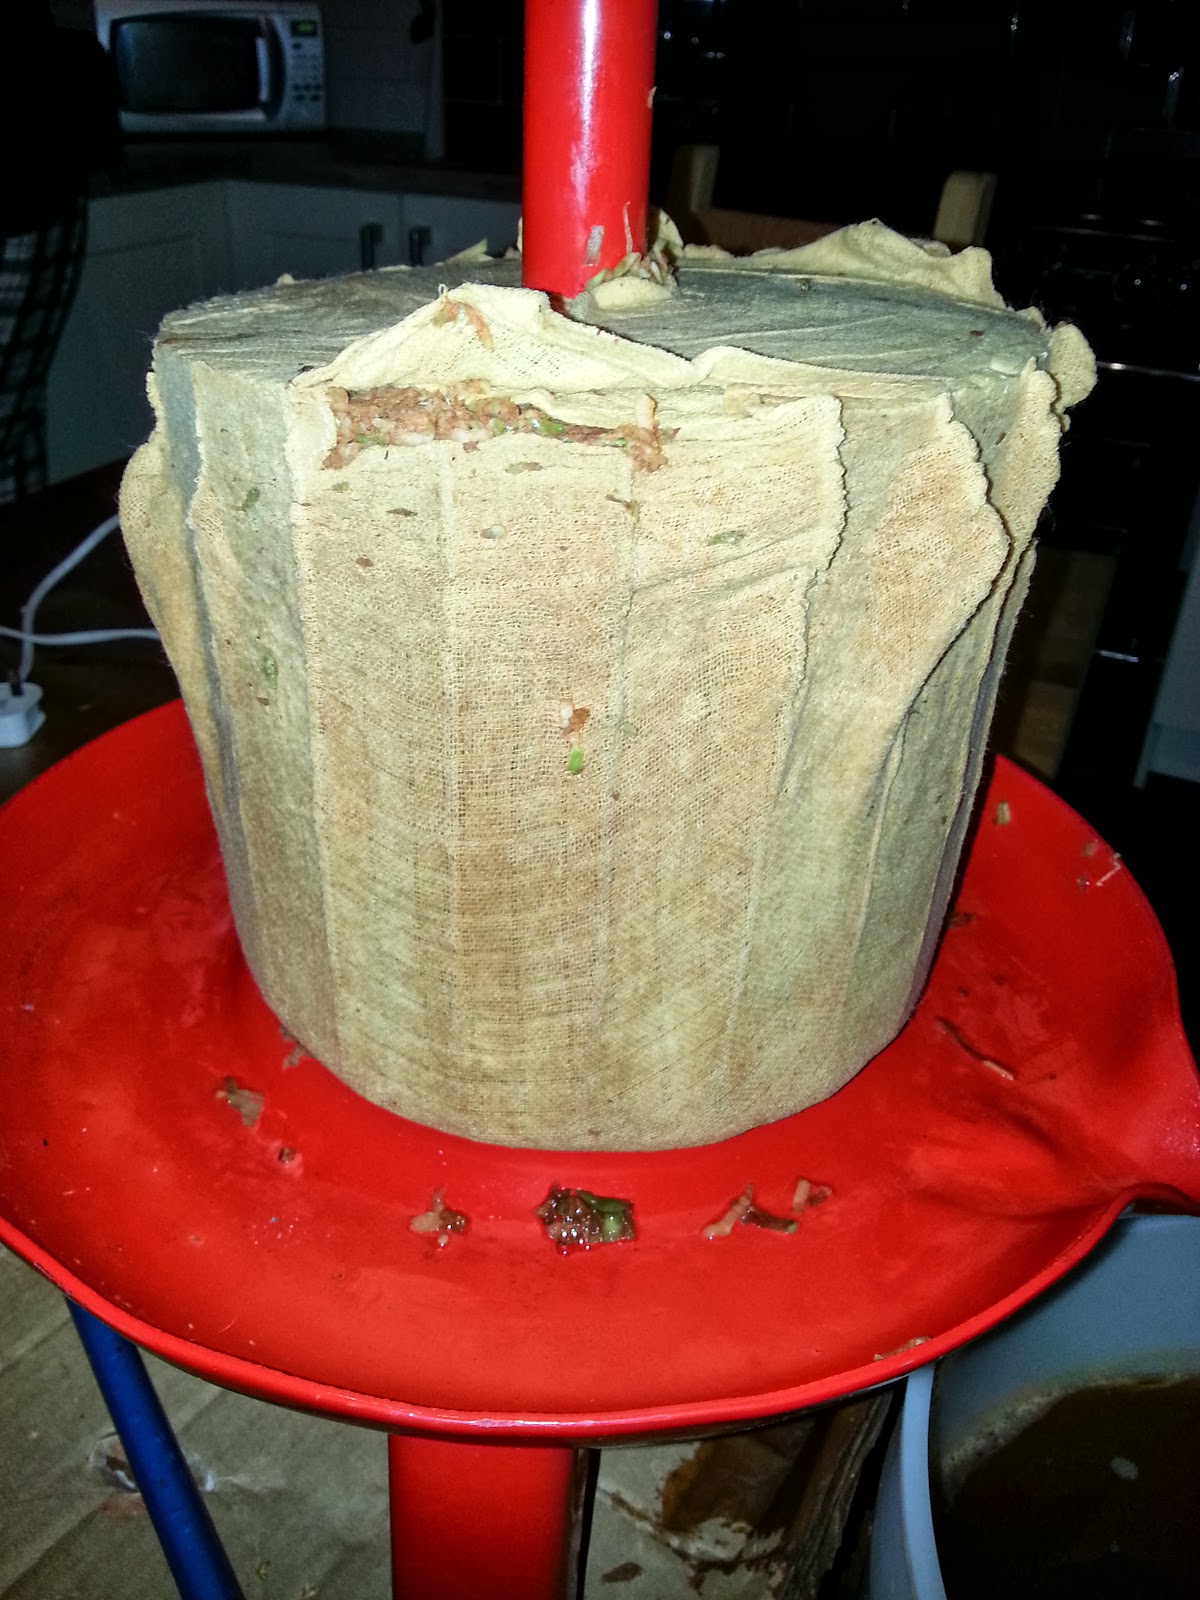
The first dry apple cake. These were returned to my friend to feed to his pigs

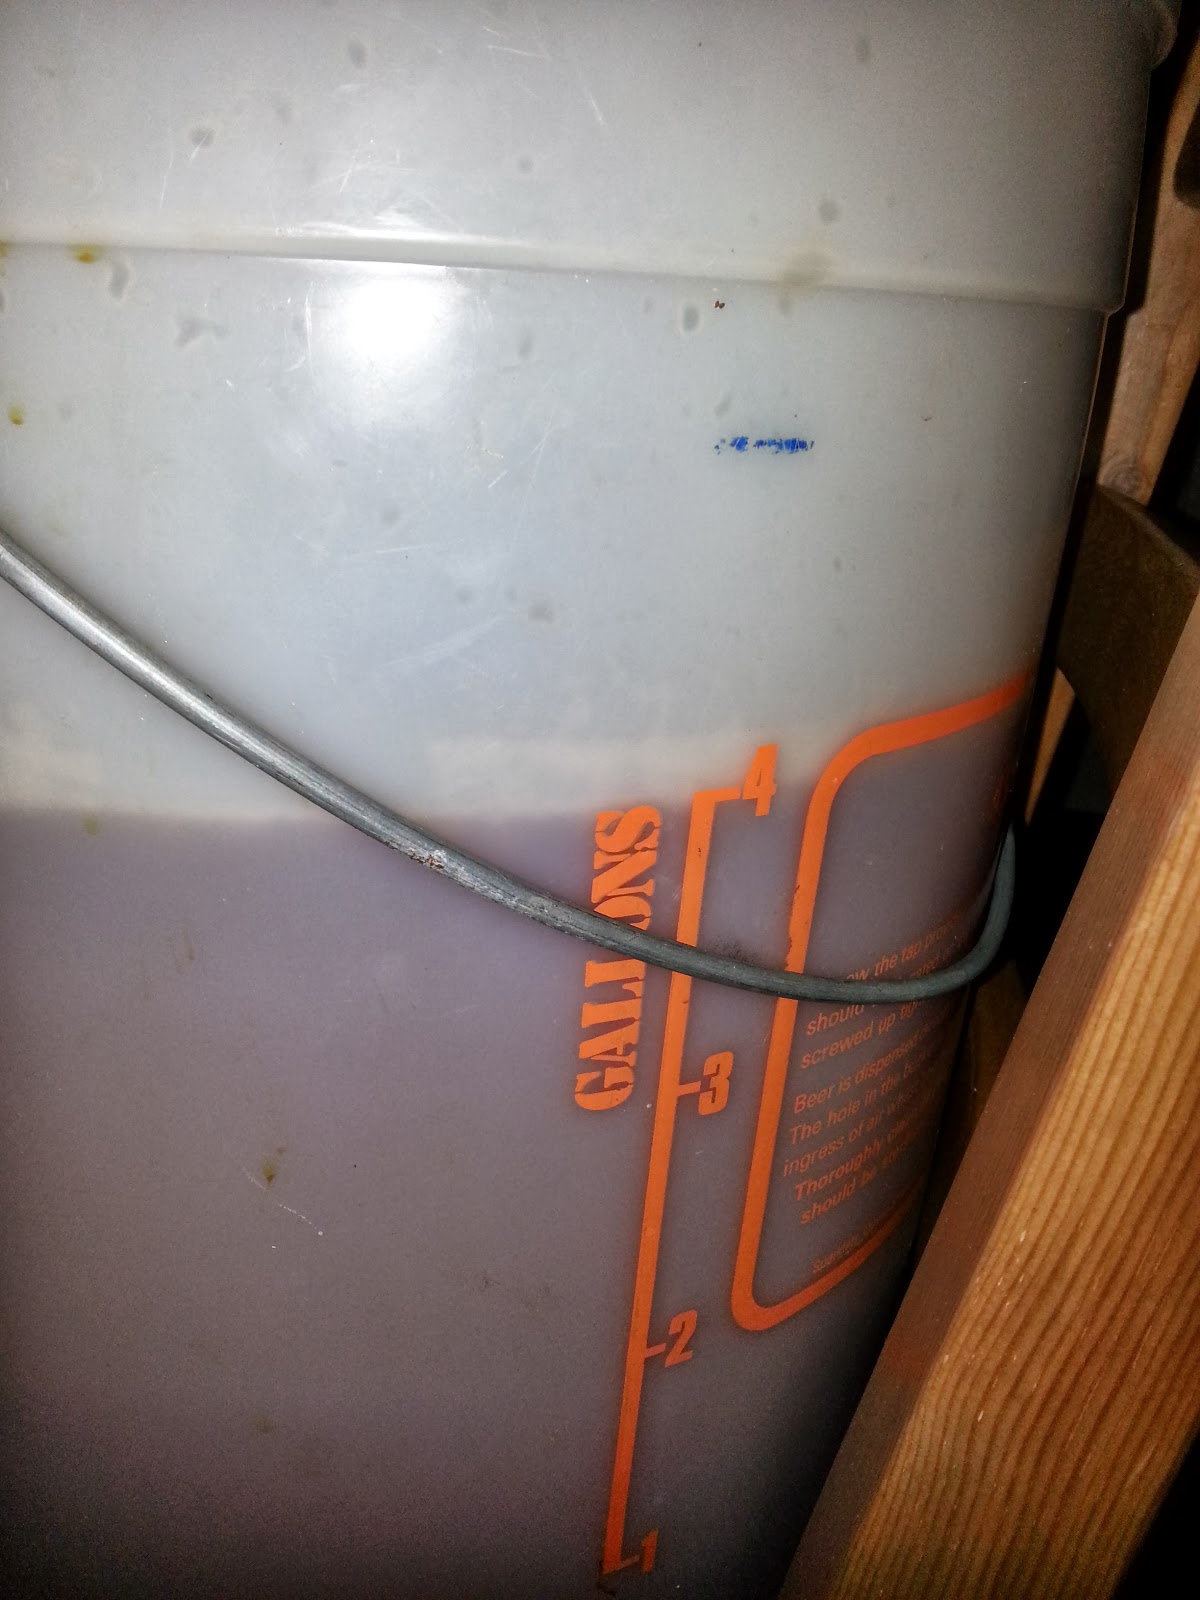
4 Gallons of juice

The dried cake after pressing

More pig food

No yeast, water or sugar added, just let the natural yeast do their thing!

Monitoring the gravity to see when ready

Fermenting nicely!

After it had fermented away it was all bottled and is now in storage while it ages. I have drank a few bottles of it and although Steph isn't a fan I am quite enjoying it. Credit to Steph though as she did help me a lot with the process.

Thursday, 25 October 2012

White Wine

I have recently deviated from my usual deviation of making wine from anything but fruit by making a batch with green grapes to make a traditional white wine! I didn't follow a recipe as such and just "winged it". The grapes were acquired from an abandoned allotment near my fathers. Here is a rough idea of what I used.


  • 1.5(ish)kg of grapes
  • 1.5(ish)kg sugar
  • 1 teaspoon of yeast
  • 1 teaspoon of yeast nutrient
  • 1 teaspoon of pectolase
  • 1 tablespoon of citric acid
  • Enough water to make upto a gallon
My method was as usual from making from frozen fruit. I put the clump of frozen grapes in a bowl with the sugar and covered in boiling water. Then when the water was cool enough to out my hand in I added all the other ingredients and covered for a few days. I then strained it all through a muslin square and put in a demijohn. It is now happily bubbling away. I have no idea how nice this will taste but at the moment it smells like white wine so I must have something right!

Once I'd finished this wine I made another batch of elderberry wine but as there is no difference in then recipe and method I've already used then I won't repeat it.


White Wine!
Green Grapes

White Wine!
A few days of fermenting and a little squeeze to release some juice

White Wine!
Getting ready to put in a demijohn!

Sunday, 30 September 2012

Elderberry Wine

Me and Steph have recently been out collecting Elderberries to make a batch of wine. The recipe required 1.5kg of Elderberries so we had to do more than one trip to get them but luckily we have an abundance of them near to where we live. Once we had picked the berries we then had to remove them from as much stalk as possible; we managed to do this while Lauren was asleep or otherwise busy causing chaos elsewhere! Hopefully at some point next year we will have a few bottles of Elderberry and Elderflower wine ready together, here is my post of the Elderflower wine. Below is the recipe, a few photos and a bit of a method to follow if you want to make your own.


  • 1.5kg Elderberries
  • 1.5kg of Sugar
  • 1 tsp Citric Acid
  • 1 tsp Yeast
  • 1 tsp Yeast Nutrient
  • Water to make up to 1 gallon


Elderberry Wine
Elderberries ready for processing


Elderberry Wine
Using a fork to remove the berries


Elderberry Wine
Finally got 1.5kg of berries!


Elderberry Wine
Small bits of stalk are ok to go through


Elderberry Wine
1.5kg of sugar


Elderberry Wine
Add boiling water, about 1.5 litre (or a full kettle)
Once the water had cooled I added the citric acid, yeast and yeast nutrient, stirred the mix then covered with cling film and left for 5 days.


Elderberry Wine
After 5 days I put the mix through a muslin square and squeezed it to get more juice out


Elderberry Wine
When I had all the wine mix in the demijohn I added more water so it was a couple of inches off the top and have now left it to ferment


Wednesday, 4 July 2012

Elderflower Wine - My 100th Post!

I'll start of by giving a quick mention to this being my 100th post. When I started this blog I never expected to actually be still going this long. My expectation would be that I would get bored of it quickly and just use it as a tool for logging my beekeeping rather than writing it in a note book! It has actually turned out to be so much more. In the couple of years I have been blogging I have met new friends through other bloggers and extended the subject range to include home brewing and also increased my writing skills although I still rely heavily on my proof reader and wife, Steph, who is also now an author for this blog. There has been a few time when I have said I will just write a quick blog and ended up writing a several hundred word essay so I will change the subject now and start the real post which is about wine!

In the last few weeks the elderberry trees in the area have started producing their flowers so me and Steph decided it would be a good time to go out and collect the flowers to make some wine with! In just one short walk near some farm land where we live we managed to pick nearly a full carrier bag full of the flower heads. We made sure we left plenty of flower heads on the trees as later on in the year we will probably try to make some elderberry wine as well! The recipe I'm following for elderflower wine can be found here. In the recipe it gives measurements for making either 1 gallon or 5, I am just going to make 1 on this occasion. Below is the list of ingredients copied direct from the website.


The quantities below are for 5 gallons, with the quantities for 1 gallon brews given in brackets.


Elderberry Wine

After the walk I spread the flower heads on the table at home and left them a couple of hours to let any bugs make their own way off the flowers. When I came back I could see loads of tiny bugs on my brand new kitchen window, I imagine they were from the elderflowers!

Elderberry Wine

The recipe says to use 24 heads that should be approx 1 pint of flowers when they are trimmed from their stalks. I didn't bother to count the heads and just measured out a pint of heads. With the amount of flower heads I had collected there was enough for the batch I'm making leaving 2 pints that I bagged up individually and have popped in the freezer for later.

Elderberry Wine

After I had chopped up the sultanas and weighed out the sugar and citric acid I placed them all in a large bowl with the pint of elderflowers and the tea. I then poured 2 pints of boiling water over it all then covered with a tight covering of clingfilm and forgot about it until the next day.

Elderberry Wine

Elderberry Wine

Elderberry Wine

Elderberry Wine

The next day I added the yeast and yeast nutrient and another couple of pints of water, this time cold water. I then covered it up and left it for 4 days. Each day I opened it a small amount and gave it a small stir.

Elderberry Wine

Elderberry Wine

After 5 days in total I poured the mixture into a demijohn using a sterile washing cloth to filter the debris off, then topped the liquid up to a gallon with cold water. At this stage it had a very inviting smell developing. When I checked it later the airlock was bubbling away nicely. I will now leave it to clear and rack the wine a couple of times and it should be ready for Christmas (which is only 173 days away) but will taste best if left until next summer!

Elderberry Wine

Elderberry Wine

Monday, 23 April 2012

Coopers Mexican Cerveza Lager Kit

Yesterday I started a new 40 pint batch of lager. This one is by Coopers and it is their Mexican Cerveza. I have heard good things about this lager so I'm hoping it will turn out good. One difference I've made is to use golden syrup instead of sugar as, again, I've been told this makes a nicer end product. I also used 200g of sugar as the golden syrup doesn't quite have enough sugar contents to complete the fermentation. When I checked on it this morning I could see that fermentation has started. I do intend on using a slightly different method to prime the lager when bottling but I will mention that when I bottle the lager in just over a week!

Coopers Mexican Cerveza
The beer kit - Enough for 40 pints!

Mexican Lager Kit and Large Tin of Golden Syrup
The home brew kit and the golden syrup.

Sugar Weighed Out For Homebrew
200g of sugar weighed out

Tuesday, 10 April 2012

Rhubarb Wine

The time of year has come again when in my dads allotment there is a ridiculous glut of rhubarb. He has about 3 large plants and possibly a couple more smaller ones and each can produce a good amount each week. Within quarter of an hour I'd managed to pick all the stalks I needed to make a gallon of wine with plenty left over to eat and give away. The recipe I used was the first that came up using a google search and can be found here. I took pictures along the way so you can see what I did.


Rhubarb
Rhubarb growing in the allotment; this is a tiny portion of what my dad grows.

Rhubarb Wine
Just over 1.5kg of rhubarb
Rhubarb Wine
Exactly 1.5kg of rhubarb once the ends are trimmed!
Rhubarb Wine
Cut into pieces; the recipe says about 6mm but I didn't measure!
Rhubarb Wine
Add 1.3 kg of sugar
Rhubarb Wine
After a short stirring the rhubarb is already breaking down in the sugar and releasing juice.
Rhubarb Wine
Cover and then leave for 3 days.
Rhubarb Wine
Each day I took the cling film off and crushed it to release more juice
Rhubarb Wine
On the third day I had loads of juice.
Rhubarb Wine
Using a new cloth and sieve combination I started straining the juice away.
Rhubarb Wine
The juice was collected in a food grade bucket.
Rhubarb Wine
What was left over when all the juice was squeezed out of the pulp.
Rhubarb Wine
250ml of grape juice was added.
Rhubarb Wine
Finally using cooled boiled water filled up a demijohn. I added yeast, yeast nutrient and pectolase enzyme at this stage and it is popping away nicely!

All that remains now is to leave it a few weeks then rack it away from the sediment at least once, maybe twice, then bottle it up to mature or just drink! I'll let you know how it tastes!